Abby's Art Club

A DIY blog about starting an art club for kids and finding the inspiration to keep it going.

Tuesday, August 29, 2006

clothespin people


I found a bag of old school style wooden clothespins at a local thrift store and Sylvia brought them to life. I like the found materials she used to give her guys crazy individuality -- bouncy ball head and flapper girl draped in tin foil, marble man and tatsy (a girl with lace tatting glued to her torso with pink beaded eyes). This project creates the perfect stage for character development and storytelling, you just have to provide clothespins and hot glue, and let the kids scavenge for odd bits and baubles.

Monday, August 28, 2006

shell and bead guys


The art club hot glued shells, beads, and googly eyes together to create little guys. It was quite fun and only one child hot glued their finger. Pink glue was used as an aesthetic choice and all the creatures were given names and pedigrees.

hot glue sculpture


When I have kids create sculptures using small found materials I place all the objects at the center of the table in bowls and on cookie sheets. I give paper plates to each child to work on top of when they use the glue gun. I give students dixie cups to place the materials in that they favor and want to save. Glue gun safety is important. I give each student a wood skewer (or straw/chopstick/toothpick) that they can use to poke their found objects into place with instead of using their fingers.

Thursday, August 24, 2006

mini box worlds


The miniaturists are back together this week. Today I gave them jewelry boxes, old magazines, scissors, and glue sticks and they collaged miniature worlds of fascinating detail.

Wednesday, August 23, 2006

felting class


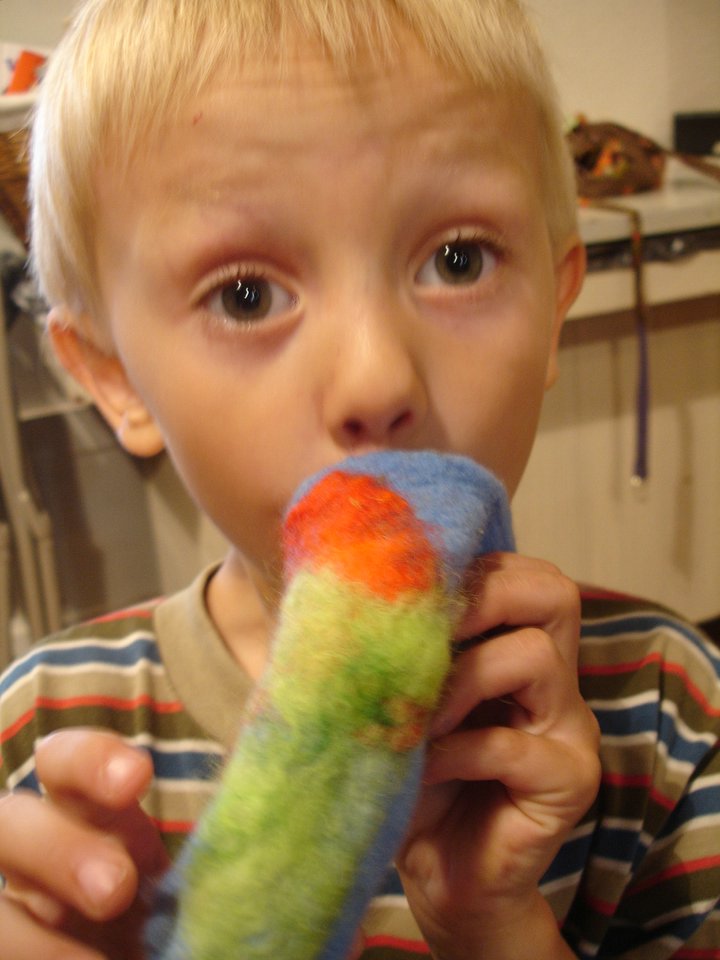
On a recent trip to Virginia the kids and I took a simple felting class. The last time the art club attempted felting it wasn't a great success -- pretty messy, the felting was slow going, and I didn't have a good grasp of the material. A local community art center in Orange, Virginia provided the space for a private lesson with a local felter. It was an excellent opportunity to improve my own skills and step back and watch an expert work with my own children while I took notes. I got a lot of specific felting tips from the class, but mostly I was reminded about how important it is to take time to watch other artists teach. On the road, or right here in Madison, I realize how refreshing it is to make contact with other artists and encourage myself to keep learning and trying new materials. I think that teaching art club helps motivate me to expand my comfort zone as an artist and that's just the kick in the butt I need to stay creative.

Some of the things I learned about felting:

Start by patting felt lightly, then rub gently, then get rough with felt only after shrinkage has started to occur.

Start your felting inside a freezer bag. (genius, easy clean-up and no friction between hands and felt)

Use wool batting for simpler felting constructions. Make a sandwich with batting of four layers -- with every other layer of fibers going opposite ways in a cross-hatch fashion.

The warmer the water the quicker the felting.

Use Ivory soap. Don't use too much soap because the wool fibers will slip, one or two drops per warm water solution in an old dish soap bottle is enough.

Use a series of warm water rinses as you felt until the soap is no longer in the felt and the final felting stage occurs with damp felt outside of the freezer bag in your hands. At this point the students can get rough with the felt and rub it on the table for a final felting stage.

For projects that need a resist (a pocket that doesn't felt like a puppet or a purse), use foam packaging sheets.

Remember to mark the top of projects before felting so you can tell where to cut the resist pocket when you want to turn it right side out.


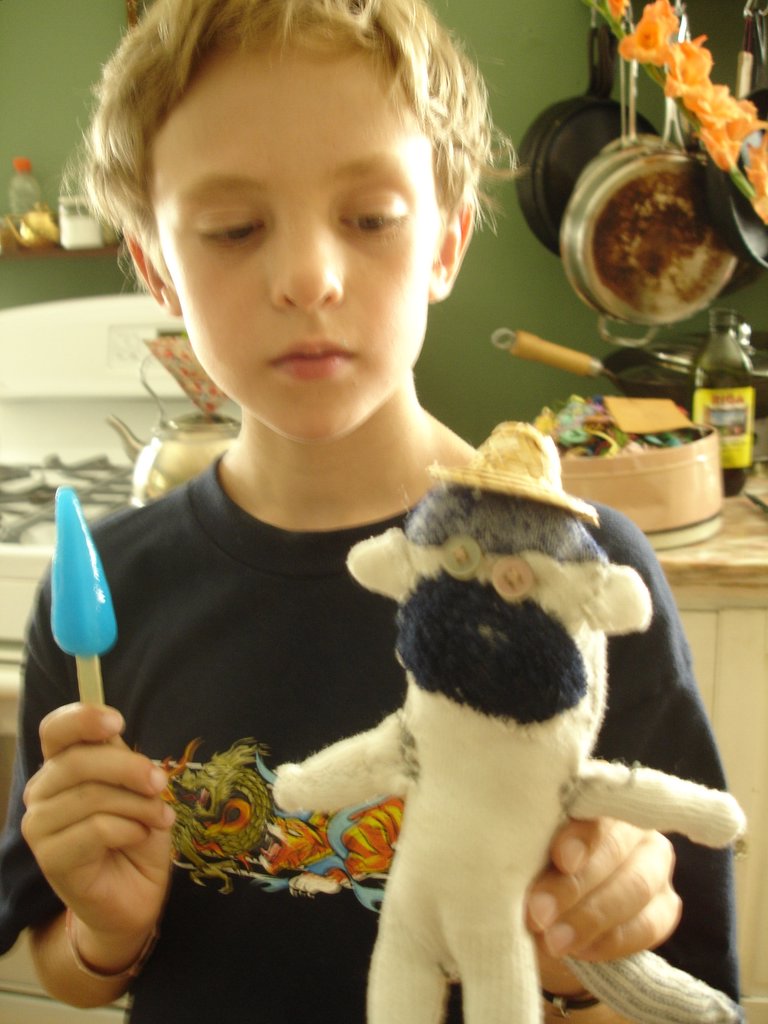
Jimmy made an excellent pouch, so I guess this project is age appropriate for four year olds. This year in art club plan on some felting fun.


Monday, August 21, 2006

Olive's party


Birthday parties are an excellent time for craftiness and artful performance. Olive had all the kids decorate their own party hats -- greatly increasing the true fanciness of the occasion. She made and designed her own party dress. She served miniature foods at her birthday banquet on mini green plates. The elegant fare included mini weiners on mini croissants, cocktail corn, baby carrot sticks, and a tiny cake. Lemonade was continually served in doll sized glasses. I was glad to be included on the guest list.


Monday, August 07, 2006

Isaiah's summer


Isaiah shared some of his summer projects at the last art club. He has made several sock monkeys and a knitted horse. One of the things I really value about art club is the show and share period when students can bring in what they have made at home and discuss their ongoing artistic pursuits. I am often surprised by how students translate what we work on in class to the home environment, tweaking and changing techniques to their own interests.

Isaiah knew how to knit before starting art club. He actually made a number of knit chickens for the chicken fundraiser while I was helping other kids get through their first projects and was able to help other students learn to tie off and count stitches, etc. He told me the knit horse took him quite a while and he wouldn't recommend the project for beginners. At the start of last year Isaiah was not as comfortable with a sewing needle. I helped him thread his needle and provided insight on things like starting threads, knotting off, cutting patterns, and stuffing techniques. I felt very gratifited to realize that not only does Isaiah now feel comfortable starting hand sewing projects on his own, but he is also creating a whole sock monkey community in his home. This is his third sock monkey of the summer. (I think his little brother might run out of socks.) This summer Isaiah also attended a circus camp and got a new unicycle.

Wednesday, August 02, 2006

cross-stitch


We learned how to cross-stitch today. Cross-stitching builds confidence with the needle and young students can get fairly specific and simple images quickly. First the students made designs on graph paper and then they translated the work to gingham using the checks as a guide. Many of the students had not used an embroidery hoop before and cross-stitching with a geometric grid helped them learn how to push the needle from the back of the hoop without flipping the hoop over every time. I made students pull out their stitches when they made a mistake with the design (which is easy to tell with cross-stitch) because I wanted them to learn to be exacting with their stitches and to feel like drawing with a needle and thread can be "erased" with very little effort. We also made designs for writing our names in cross-stitch.

Tuesday, August 01, 2006

fancy fans


We had art club today in the intense heat and so we decided to embrace the art of the fancy fan.

I got the daisy fan pattern from a victorian book of child's play. You can use wrapping paper or white paper and color your own design. Fold the paper first in atleast 34 fan style folds. Then unfold paper and decorate with colored pencils. You can cut holes in paper papel picado style and add embellishments if desired. Next decorate and cut the leaf pattern every four folds. Refold fan. Add popsicle stick handles with glue stick at edges. Tape center with scotch tape to hold the fan in position. Tie with a twistie (or ribbon). Fan yourself vigorously.